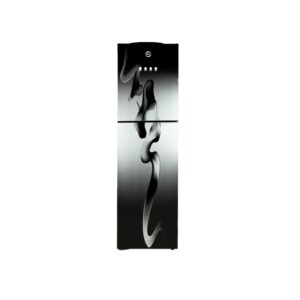
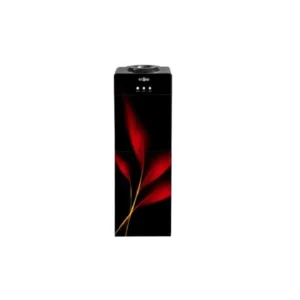
Water dispensers are the most important appliance during summer. Uninterrupted cold & clean drinking water is a blessing. But what if, this blessing is contaminated and making you sick? Seems scary? Don’t worry! Keep reading…
The main reason for this behavior is that people think that the water dispensers we use need no cleanliness or any maintenance. Moreover, they are not so concerned about it until they get unavoidable stains, odor, and mold.
If this ignorance continues, the bacteria, stains, and mold become not only impossible to remove from the surface while affecting the aesthetics but can be dangerous for your health too. All you need is to regularly clean and disinfect the appliance.
In this blog, we shall discuss how to clean and disinfect your water dispenser.
Safety Measures Before Starting the Process
Before heading to the mission impossible, there are some safety measures you need to take. These are explained below:
Remove connections: Ensure that your appliance is unplugged from the power and ready to apply water and soap.
Ventilation: To avoid breathing in any cleaning agent fumes and to maintain a safe atmosphere, make sure the area is well-ventilated when cleaning or servicing the dispenser.
Safe cleaning products: To prevent the dispenser from being damaged and to maintain the quality of the water being distributed, only use the mild and secure cleaning agents that the manufacturer and an expert suggest.
Cleaning schedule: Establish a regular cleaning program based on use and environmental considerations. In places with hard water or large quantities of dust, cleaning is necessary more frequently. In such cases, establish a cleaning and maintenance schedule. This helps keep the water dispenser perfect for a longer time and guarantees that you don’t overlook its maintenance.
Cleaning Process
Interior & Exterior Cleaning
- As required and suggested by the brand, prepare the cleaning solution. Using this solution, clean the water dispenser’s interior pipes and water dispenser.
- Empty the water from the bottle and remove it from the dispenser so that you may properly clean the dispenser. Don’t worry if you see mildew around the dispenser; we’ll take care of it soon.
- Use the tap to drain any residual water from the bottle. Pouring the cleaning solution into it is necessary. For separate cleaning, you might need to remove detachable components like the baffle and spill guard.
- Scrub the bottle thoroughly with a long-handled, soft-bristled brush, paying special attention to mildew stains and challenging-to-reach areas. From here, start cleaning while maintaining a basin underneath to catch the cleaning solution as it drains.
- Allow the cleaning solution to drain, wash, and sanitize the tubes and pipes as they go. After draining, run two or three cycles of plain water rinsing to get rid of any residue. Once all traces of the solution have been removed, fill the bottle with fresh water and rinse once more.
- Proceed to use a vinegar solution to clean the removable parts. Start by soaking the faucets, taps, drip tray, and any other detachable components in a solution of hot water and diluted vinegar. It’s crucial to avoid cleaning the water bottle with this mixture as it can pick up the vinegar smell.
- Make sure the solution covers every surface of the pieces and soak them for at least 10 minutes. After soaking, clean the regions thoroughly with a brush. Before reassembling the parts in the water dispenser, give them a thorough cleaning with clean water and make sure they are totally dry. The vinegar mixture successfully gets rid of stains and any mildew that could have developed.
- By doing this, you can help keep your water cooler clean and hygienic by making sure that any replaceable pieces are clear of debris and impurities.

Sanitization Process
Use either a vinegar solution or a bleach solution and follow these procedures to thoroughly sanitize your water dispenser:
Vinegar Solution:
- Prepare an equal mixture of white vinegar and water for use as a solution.
- Pour the vinegar solution into the water dispenser.
- Allow the mixture to rest for 10 to 15 minutes to clean and get rid of any mineral buildup.
- Drain the vinegar mixture through the tap, then repeatedly rinse the reservoir with fresh water to get rid of the vinegar odor.
- Before putting the dispenser back together and using it, let it thoroughly air dry.
Bleach Solution:
- Combine 15ml of fragrance-free bleach (5%) with 5L of clear water.
- Pour the bleach solution into the water reservoir, ensuring it covers the whole interior.
- To effectively sanitize, let the solution rest for about 10 minutes.
- Run the tap to drain the bleach solution, then thoroughly rinse the reservoir with fresh water.
- Repeat the rinsing procedures several times to eliminate the bleach smell and clean the water dispenser.
- Before use, let the dispenser entirely dry.
While bleach needs to be handled and cared for properly, vinegar is natural and secure. To avoid any dangerous residue, make sure to thoroughly dilute the substance and rinse it off.
Tips to Follow to Maintain Water Dispenser
- Every time you refill the water bottle, clean your water bottle to maintain cleanliness. This procedure keeps your drinking water clean and stops the development of mold.
- Utilise just the bottled water. Keep sugary juices, sodas, fruit-flavored drinks, and other beverages out of the bottle. Such liquids may cause harm to the dispenser’s interior parts and encourage the growth of microorganisms.
- Wipe out the water dispenser exterior and bottle regularly. Use a damp cloth and also add a mild soap to remove fingerprints and dust.
- Keep an eye on the drip tray and keep it empty. Do not let the mold grow inside the tray and free it from all types of contaminations.
Stay Hydrated with Al Fatah Water Dispensers
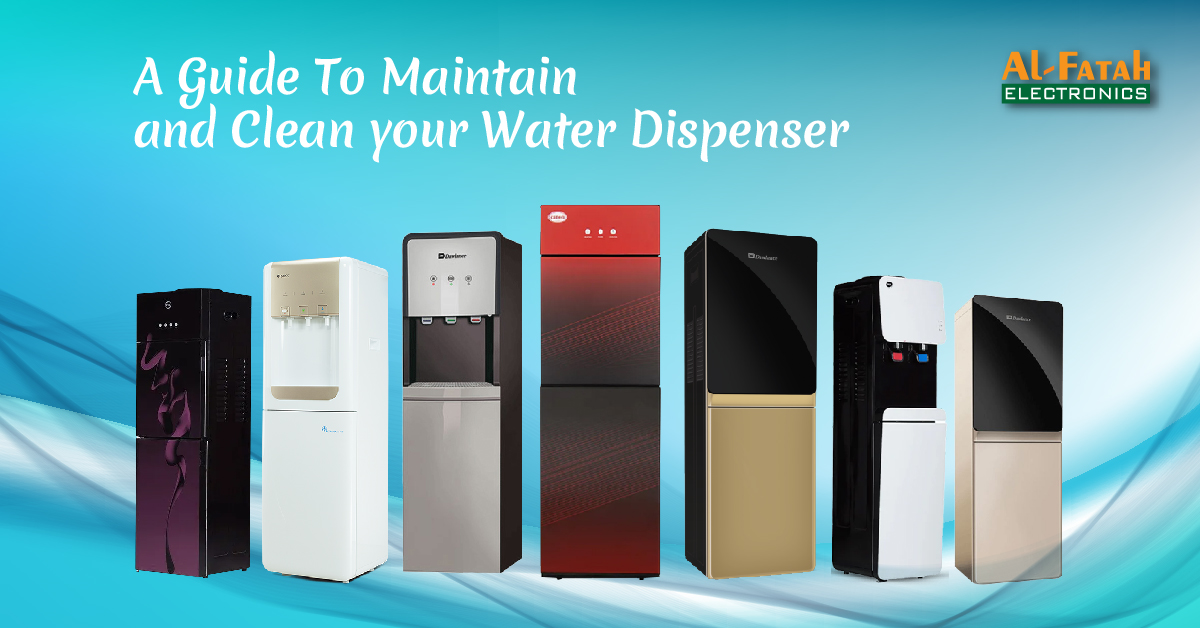
Al Fatah Electronics is providing you with the highest quality wide range of water dispensers by the top-rated trusted brands. They are not only affordable but also durable. To explore the range, visit the website now.

