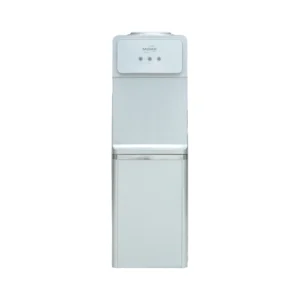
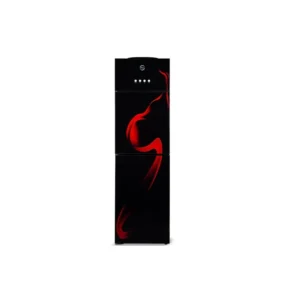
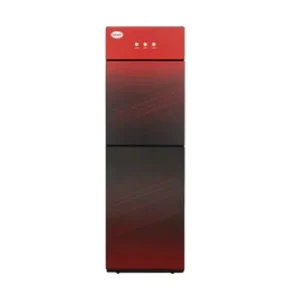
A garment steamer, also commonly referred to as a cloth steamer, is a device that utilizes steam at high temperatures to remove wrinkles from the material. Steaming is generally considered better than ironing, given the time consumption and aggregate results. A garment steamer typically comes in two variants – handheld and full-sized. Handheld is suited for those households with smaller space, whereas the latter is required for a larger area.
The ‘How To’ Part
When an individual has purchased an electric garment steamer, it is now critical to know the steps required to steam the garment. The following steps are meant to be taken, one at a time.
The Steamer Tank Needs To Be Filled
The steamer tank must first be filled with distilled water to enable steaming. Scientific research has shown that distilled water is devoid of minerals and nutrients, making it ideal for use on fabrics. Additionally, we must make sure the tank does not go over its maximum capacity.
Activate the Steamer
Once done, it is time to plug the socket into a nearby switchboard. It is essential to avoid fluctuating voltage levels since it will impact the quality of the appliance. After turning it on, we need to wait at least 3 minutes to warm the device.
Make Sure Your Garment Is Hung Up

The third step is to put the garment on a hanger. Placing on a hanger rather than resting it on an ironing board is a boss move since the downward pressure will help. An upright position placement is essential here, and we must ensure that the nozzle reaches every fabric part.
The Nozzle Should Be Run Over Your Garment
Following this, we need to run the nozzle over every part of the garment, typically from top to bottom, to support the gravitational force. A nozzle is a device instilled in an electric steamer from which the steam comes out and paves the way. However, keeping the nozzle some inches from the garment is vital. Also, the steam will be scorching, and we need to hold it firmly and apply it gently on the clothes.
Turn Off the Steamer and Unplug It

The fifth step is to unplug the electrical steamer from the switchboard. We need to cool down the steamer and then store it in a safe place that is unreachable to children. Only switching off while plugged in will consume electricity and might yield electric shocks.
Be Sure To Properly Dry Your Garments
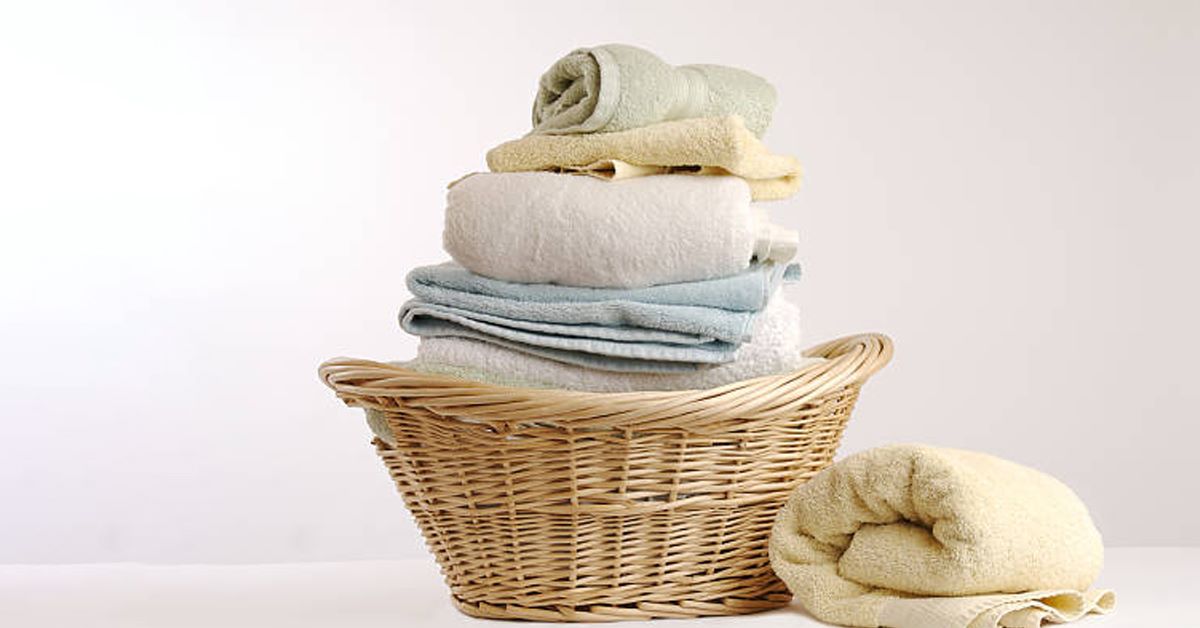
The last step to consider is to let the garments dry correctly. This ensures that wet marks accumulated while steaming are effectively dealt with. We need to place the steamed material in the closet after drying.
Handheld vs. Full-sized Garment Steamer
A handheld steamer is portable and is held firmly in hand to start the steaming process. They are specifically designed for households and consume less electricity than its counterpart. A small water tank means they are less potent than full-sized ones and generally take longer to complete the process. As far as costs are concerned, an electric handheld garment steamer is more affordable than a fully-sized steamer.
Fully-sized garment steamer takes ample space, is designed for commercial purposes, does the task within minutes, and consumes far more units of energy. A full-sized garment steamer is costlier than a handheld steamer, given its many perks.
Types of Cloth Favorable To Steam

Awareness of the types of cloth favorable to steam is essential. A general rule of thumb is that hard materials are much more flattering than soft ones. We need to avoid using steam on silk, leather, or fur. We can steam quickly on carpets, hats, and purses, with no side effects.
The steaming process typically takes 15-20 minutes and temperatures exceeding 180 degrees Celsius simply create a win-win situation, unlike ironing or dry cleaning.
| Models | Prices |
| Anex Deluxe Garment Steamer AG-1020 | 16,900 |
| Panasonic 1600W Garment Steamer NI-GSE040 | 17,999 |
| Philips EasyTouch Garment Steamer GC486/36 | 21,999 |


